Here's our complete guide for growing pea shoot greens in the Fieldhouse — follow these steps, reference the video and FAQs, and you'll do great. We're rooting for you!
REHYDRATE COIR PUCKS | DAY 1
- Open coir pack and transfer both pucks into a standard size mixing bowl
- Using included Leath measuring cup, pour two cups of water over the coir discs
- Wait 5 minutes to allows coir fibers to expand and fully absorb water
- After pucks have sucked up all water, begin to work coir with hands
- Break up any clumps and continue mixing until coir has been fully rehydrated and loosened
- Once coir has been thoroughly mixed up, transfer into top tray with holes
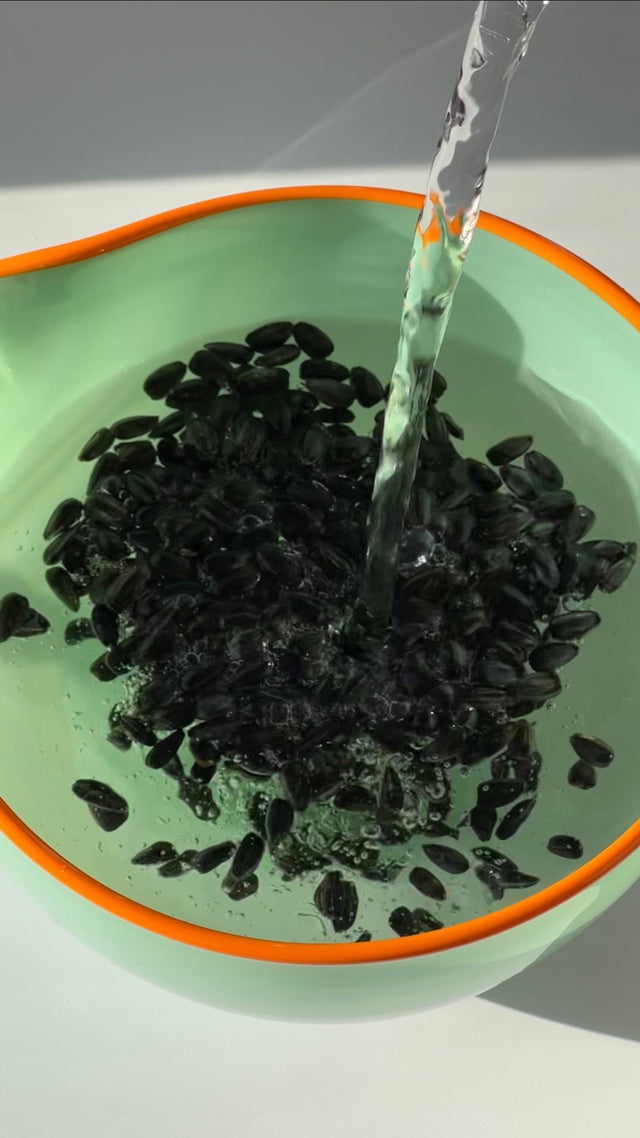
PRE-SOAKING | DAY 1
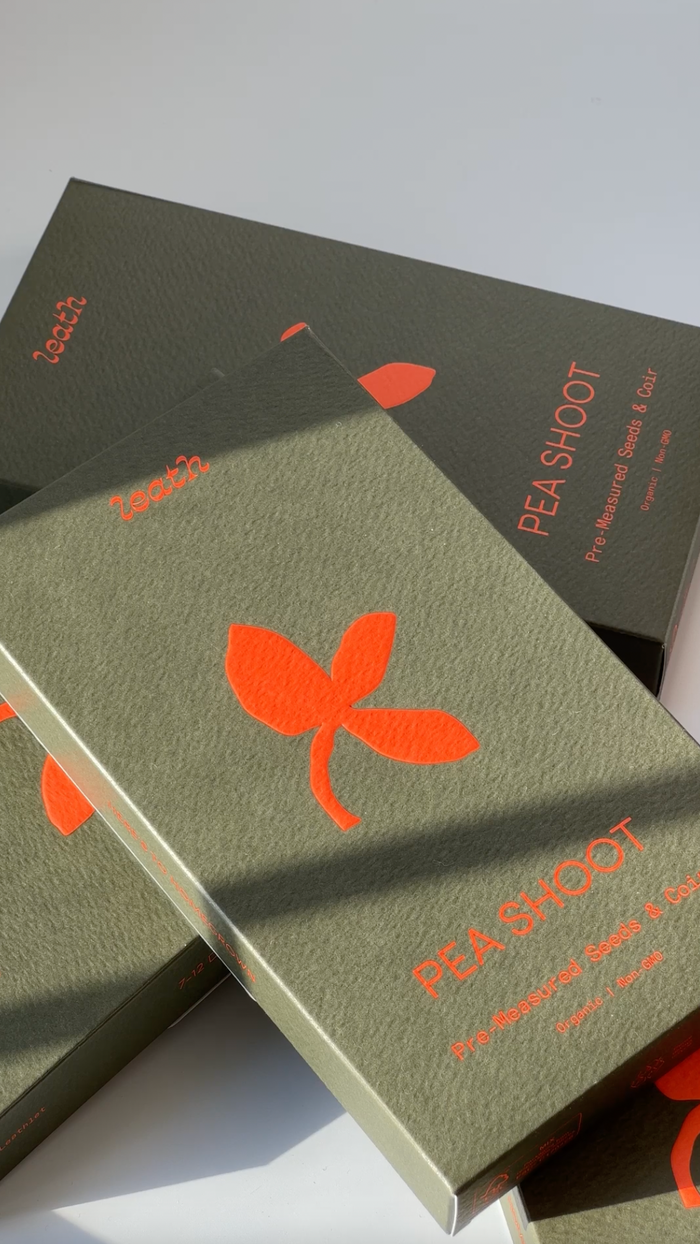
- Open pea shoot seed pack and transfer to small bowl
- Fill bowl with 3 cups (750 ml) of water – this helps soften the seed hull and encourage faster germination
- Set bowl aside for 4 - 8 hours
- If your space is prone to mold favorable conditions (high humidity, low airflow) quickly soak seeds in bacteria reducing solution (1 Tbsp 3% food grade hydrogen peroxide or white vinegar and 1 cup water) for 5 minutes
- Thoroughly rinse seeds and then follow pre-soak instructions above
- Strain, rinse, and transfer seeds to a bowl for distribution — do not let seeds dry out before planting
PLANTING | DAY 1 — NO GROW LIGHT NEEDED
- Carefully begin to spread pea shoot seeds across rehydrated coir, paying special attention to evenly disperse and avoid any clumping of seeds — even distribution helps ensure maximum germination and yield size
- Using included spray bottle, lightly mist seeds until visibly damp, but not soaked
- Cover seeds with germination lid and press down gently, ensuring seeds have made contact with grow medium
- It’s often helpful to make note of the day you planted seeds to track growth progress
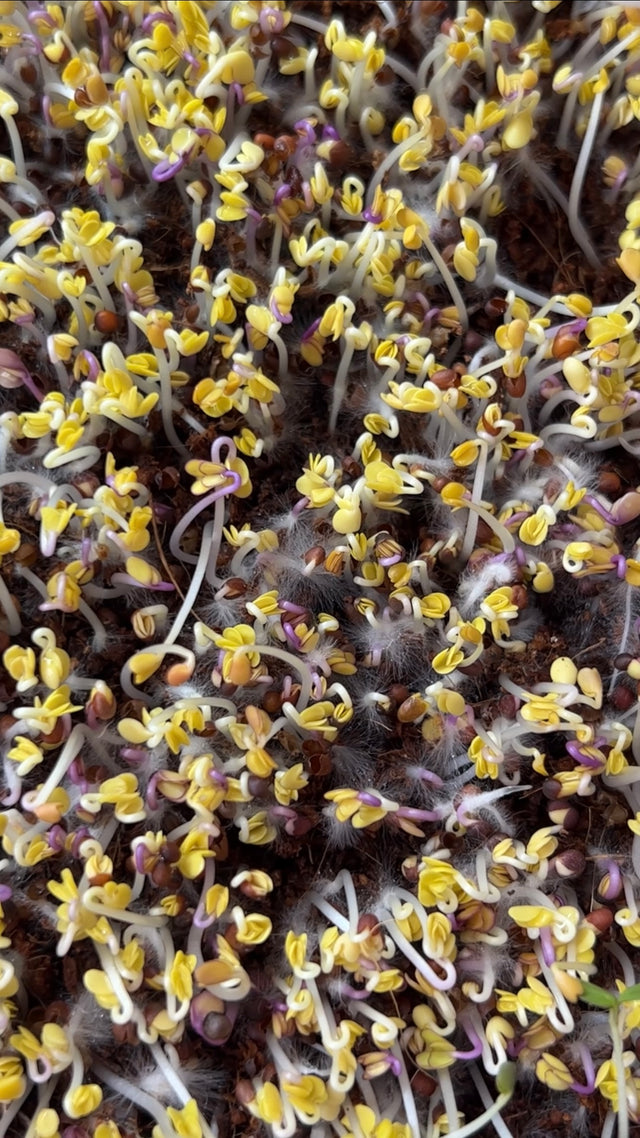
GERMINATION PHASE | DAYS 2-3 — NO GROW LIGHT NEEDED
- Lift germination lid once per day and use spray bottle to spritz seeds from above — remember, soil should be damp, but not soaked
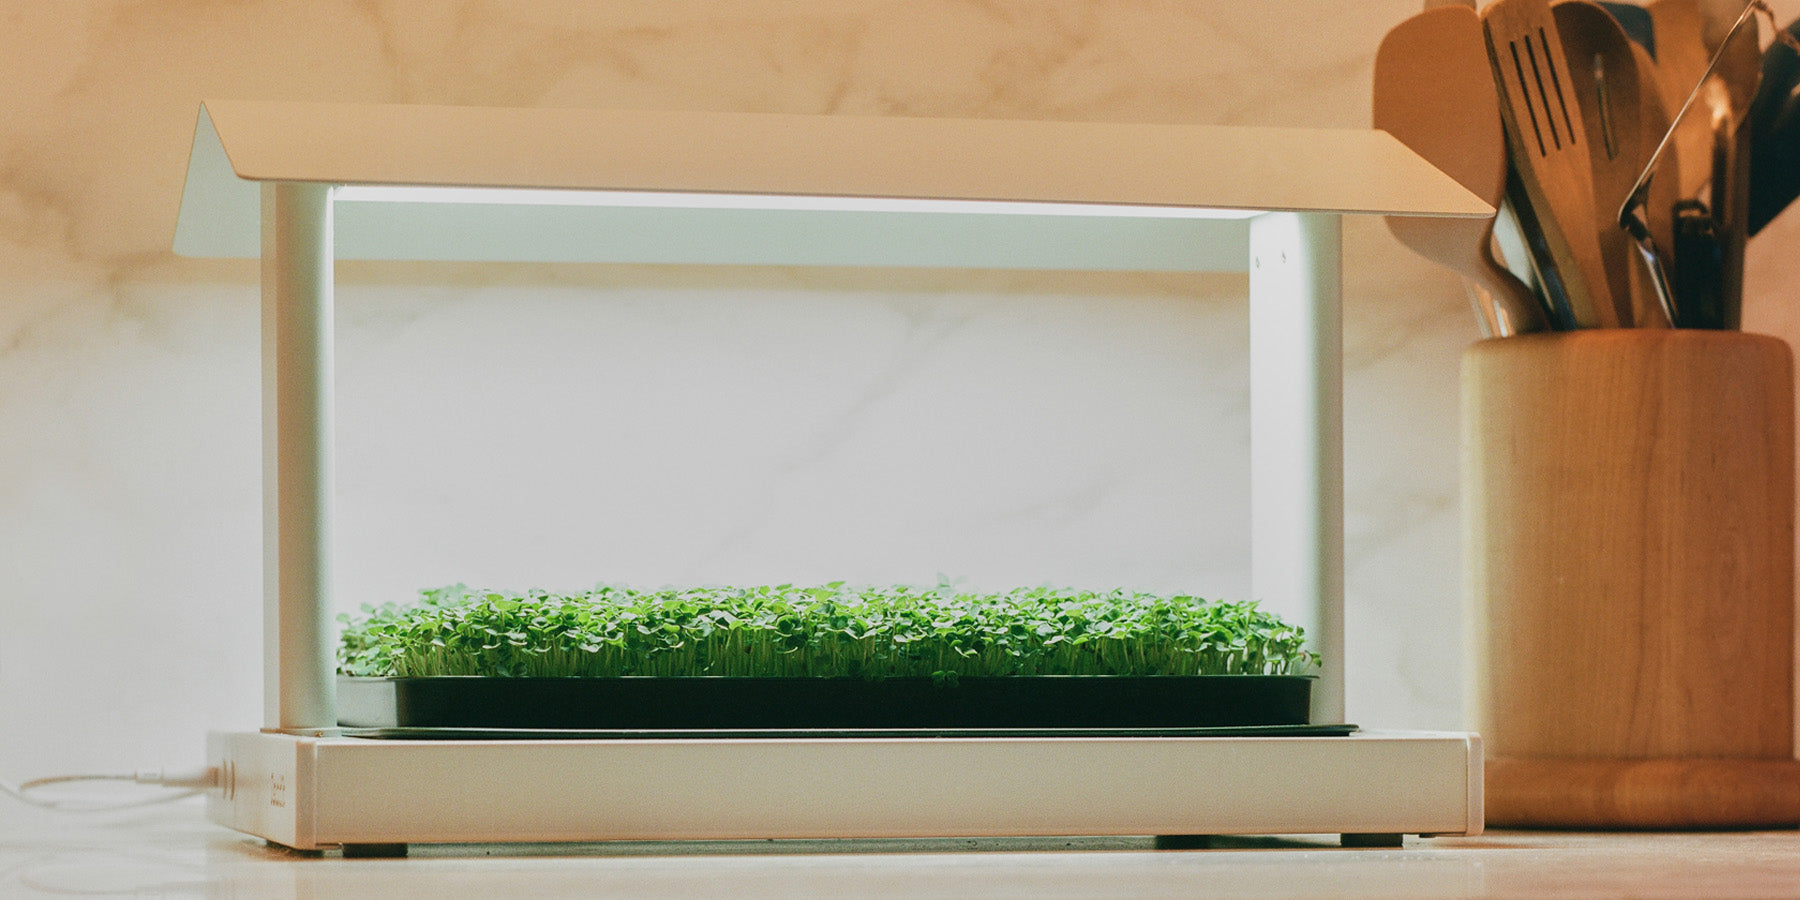
- Once 85 - 90% of the tray has sprouted and the pea shoot roots have started working their way into the soil, remove germination lid and expose seedlings to grow light — utilize the Fieldhouse’s built-in timer for an automated schedule of 12 hours of continued light followed by 12 hours off
TO NOTE: There is no bottom watering required for pea shoot during germination. Though uncommon with pea shoots, they can exhibit white, fuzzy hairs at the base of the stems during this phase, which are easily confused with mold — read our guide on ROOT HAIRS VS MOLD.
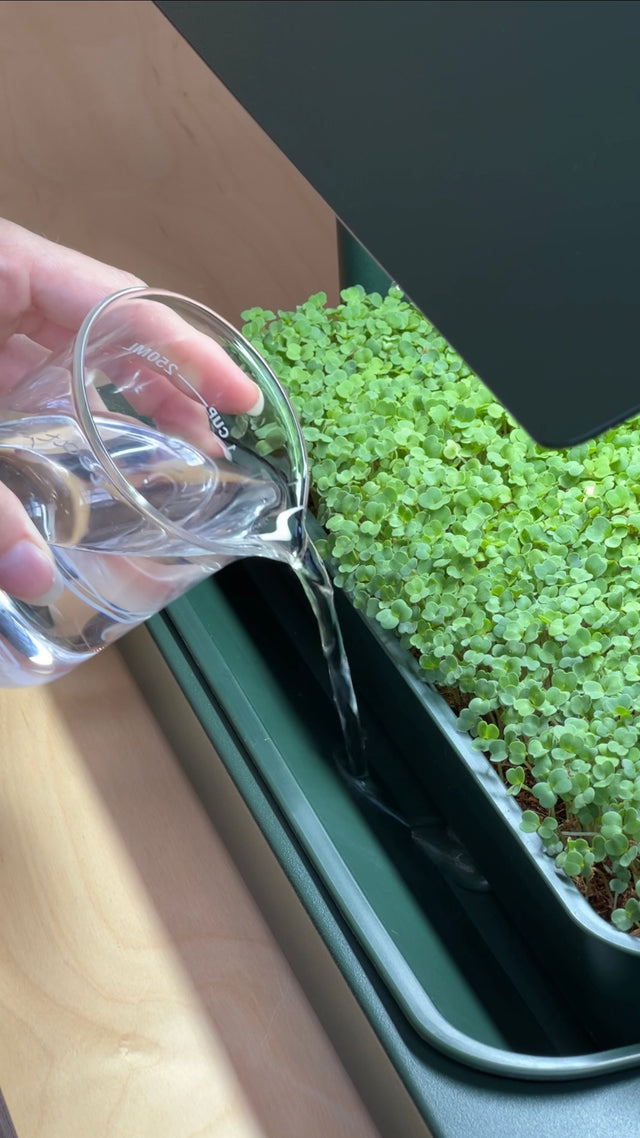
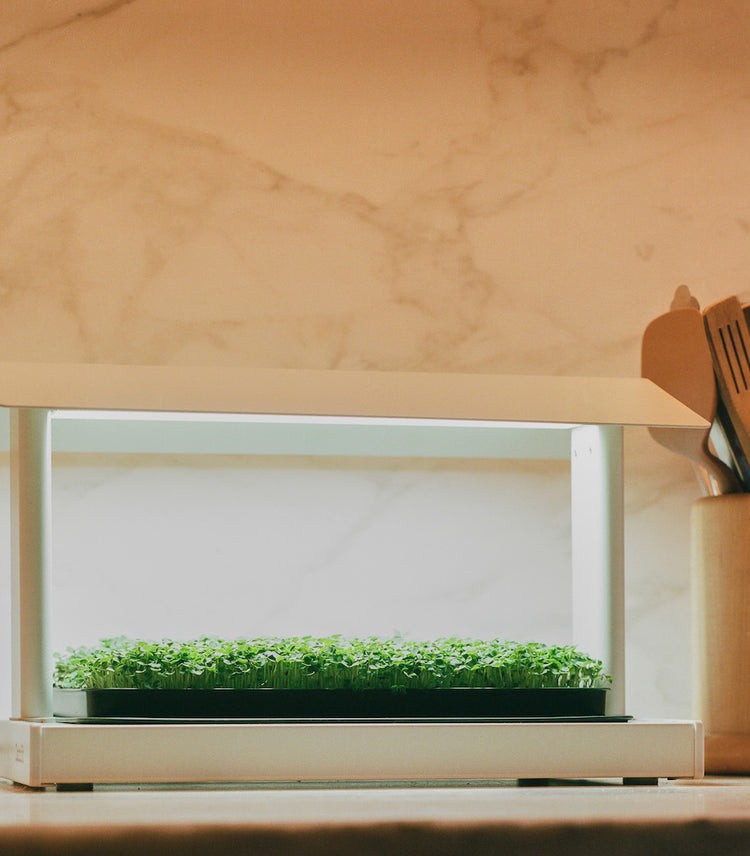
GROWTH PHASE | DAYS 4-12
- Inspect coir, and if starting to dry out, pour 1 cup (250 ml) of water into bottom tray via watering ramp using included measuring cup
- Continue to water as needed — typically once every 1 - 2 days — until harvest
- If soil is visibly soaked through, hold off on watering that day
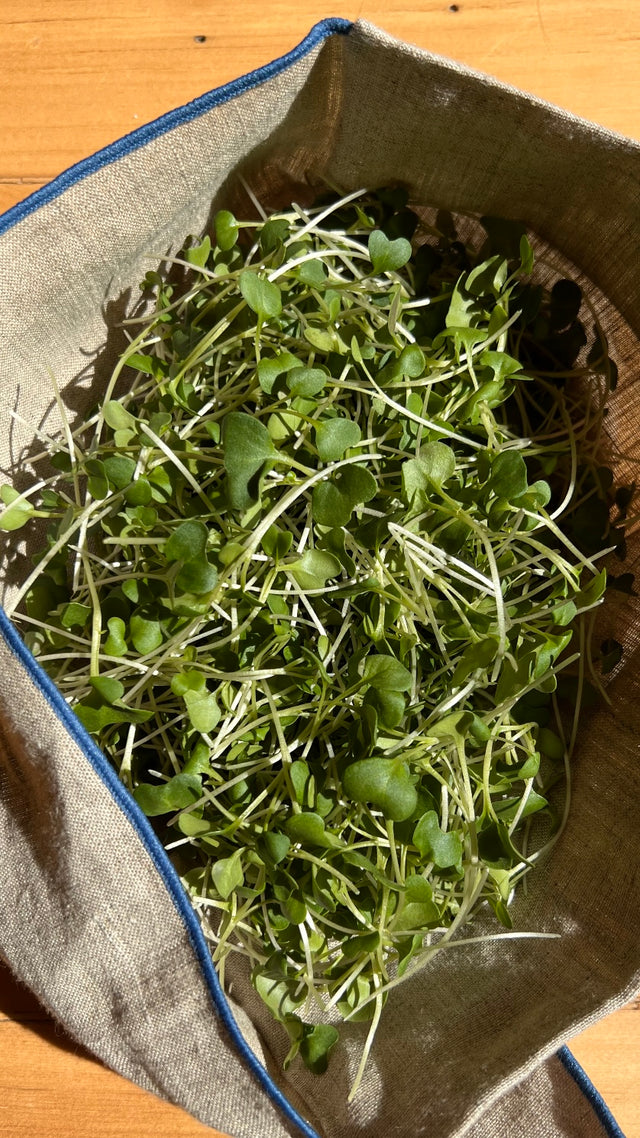
- Pea shoots will be ready to harvest once greens have reached 3 - 4 inches (75 - 100 mm) in height, or approximately 7 - 12 days after planting — we recommend eating them within two weeks as they will become fibrous after 12 - 14 days