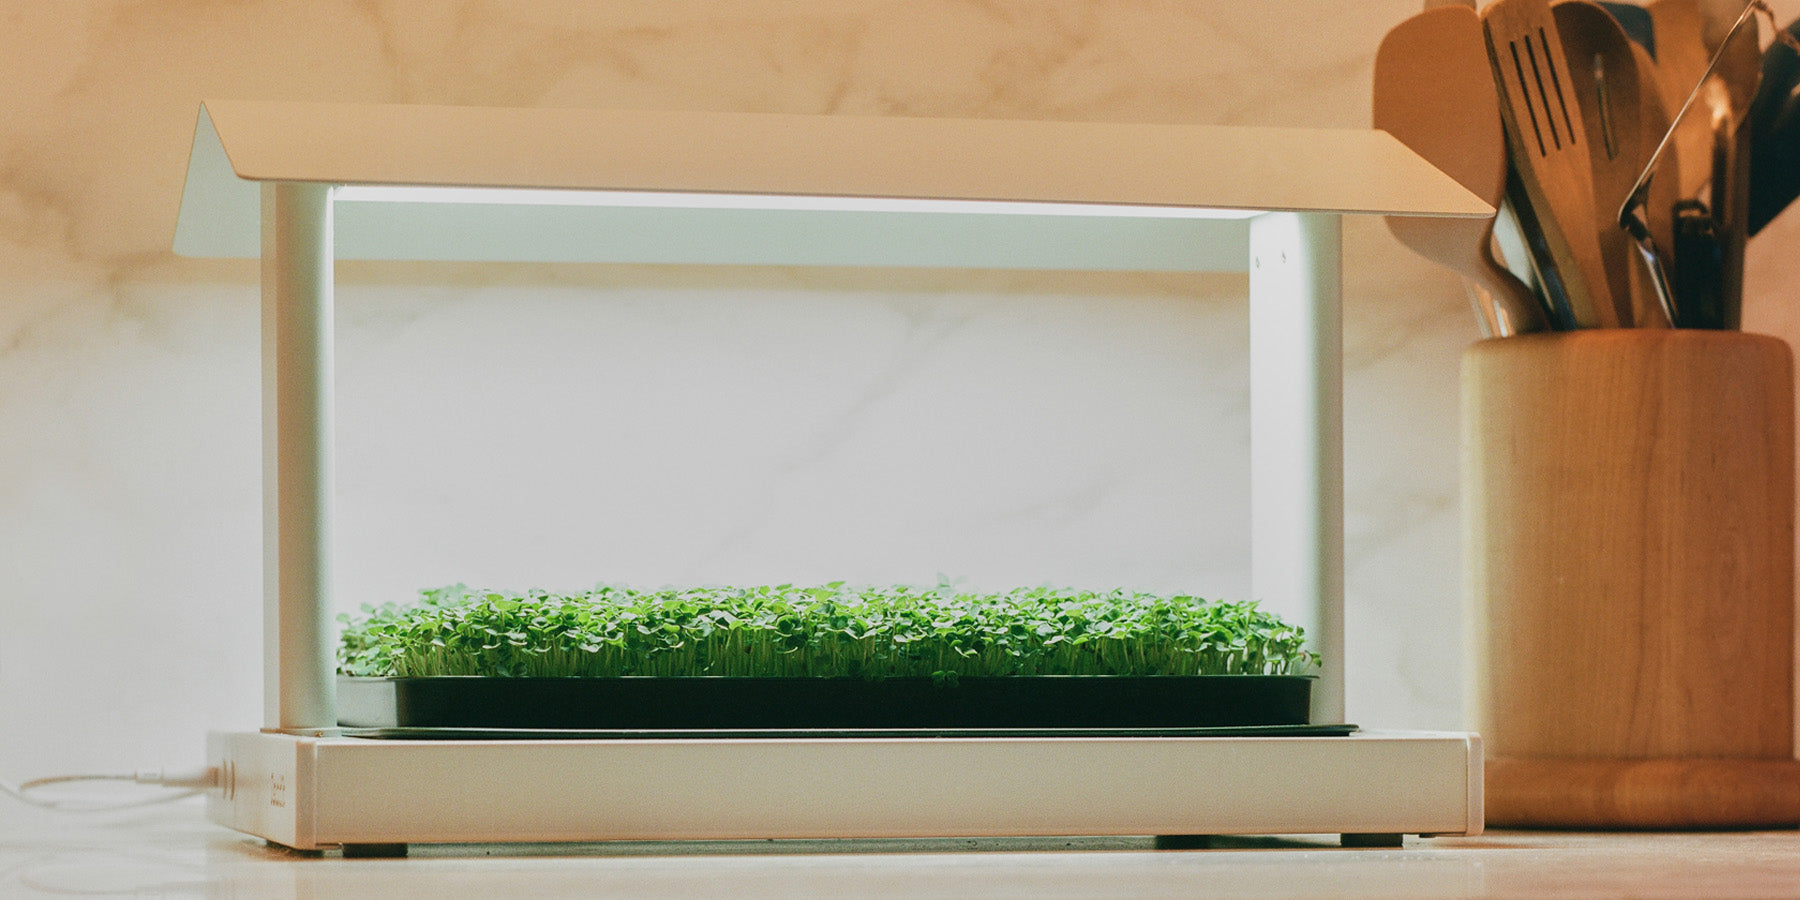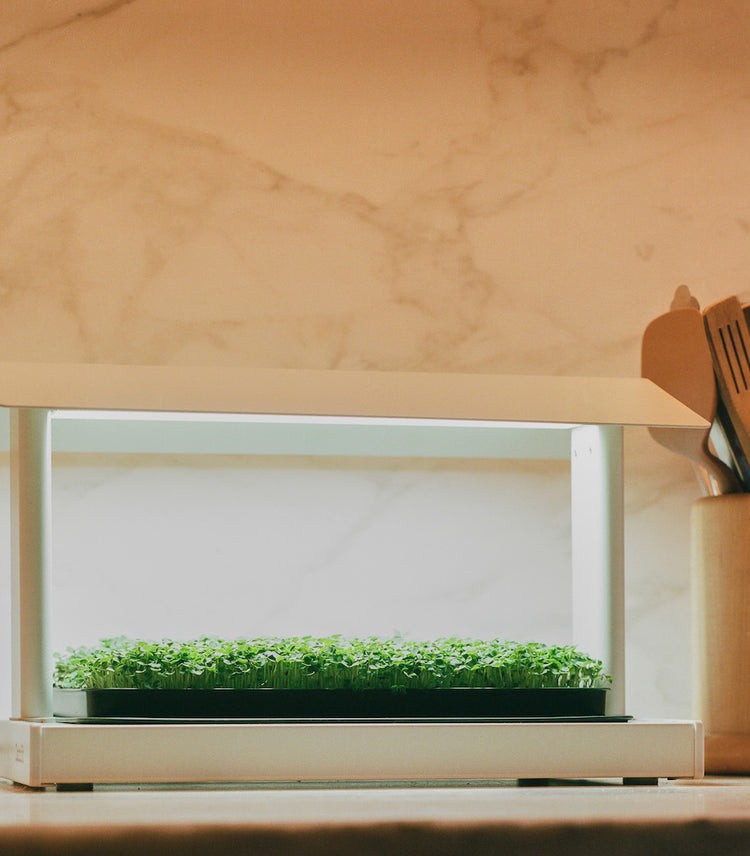

Learn how to set up your Fieldhouse in a few easy steps. You'll be sowing and growing in no time. For more detailed directions including a product overview and step-by-step illustrations, make sure to view our FIELDHOUSE USER MANUAL.
- Locate the two arms. Each arm has an inner and outer face. The inner face contains a cable routing channel and four (4) screw openings, two (2) at the angled top, and two (2) near the flat bottom.
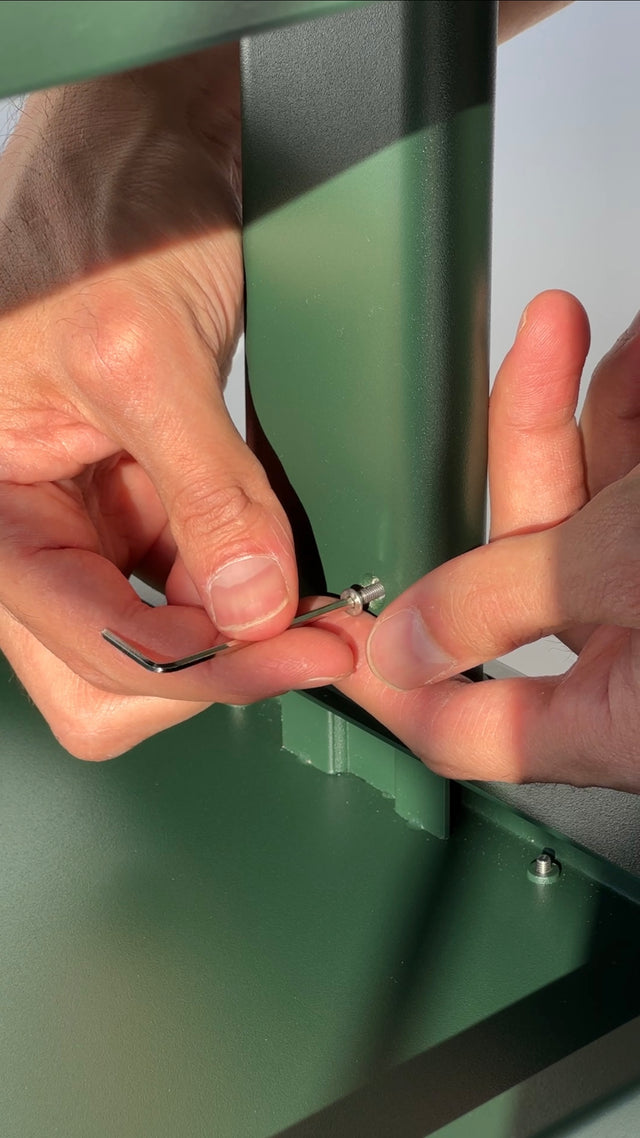
- Locate the base of the Fieldhouse. Slide the arms over the base uprights. Locate two (2) screws and insert into the holes on the inside arms. Using the included Allen key, tighten the screws until firm, being sure not to over-tighten. Repeat these steps for the second arm.
- Next gather the roof from the packaging. Route the cable connected to the roof shade through the inner square channel of the arm on the same side of the Fieldhouse with the control buttons and Leath logo.
- After the cable has been successfully routed through the arm, carefully slot the roof uprights into the top of the arms.
- Once slotted, locate two (2) screws, and insert into the holes on the upper part of the inside arms, just below the LED light panels. Using the included Allen key, tighten the screws until firm, being sure not to over-tighten. Repeat these steps for the second arm.
- Locate the cable exiting the arm and plug into the cable exiting the control box inside of the Fieldhouse base. Twist the moisture seal clockwise to tighten. Secure the cable to the inner panel using the built-in magnetic ring located around the cable exiting the interior control box.
- Remove the AC/DC adapter from packaging and plug into port located on the outside panel of the Fieldhouse base and plug into any standard wall outlet.
- Press power button to turn the light on/off. To activate the timer function, turn on grow light and press the timer button to start timer mode. Grow light will flash twice to indicate successful activation. In timer mode, grow light will cycle between 12 hours on and 12 hours off. After 7 cycles (7 days), the light will turn off.
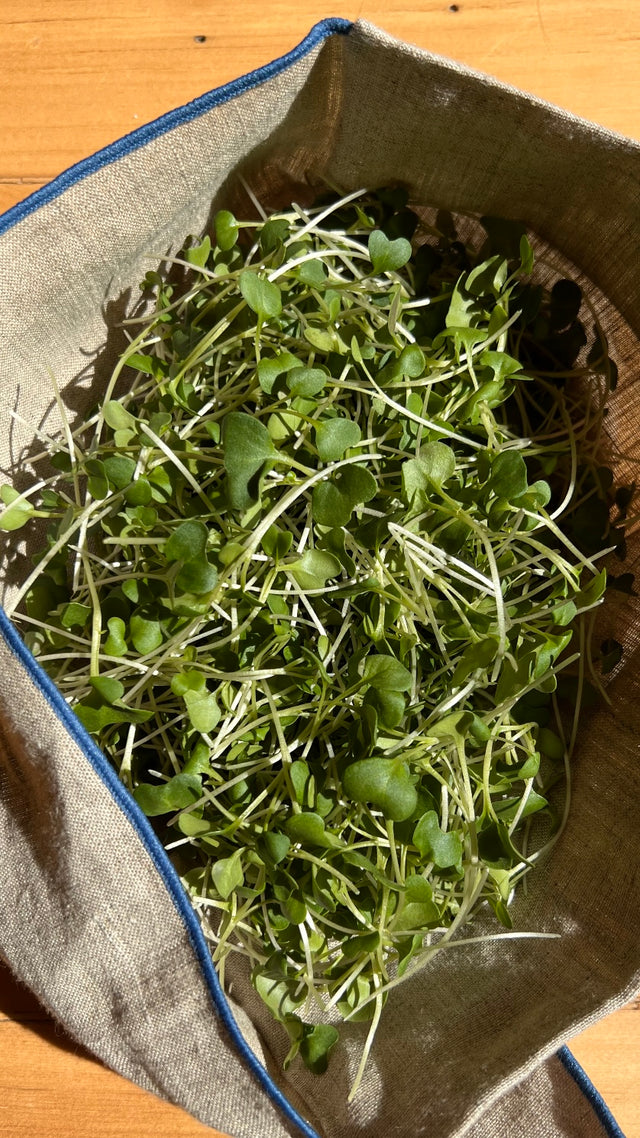
You're ready to get growing! Dig into our seed planting guides and other useful grow tips by visiting our EDUCATION CENTER.